


Gifts : Tips to retouch and improve your photos
The greatest grace of taking a photo is, as Kodak said, “capturing the moment.” But the truth is that moments can be better or worse depending, not only on the good photographers that we are, but also on the general conditions of the capture. However, sometimes all of this is not enough and we need a little extra help. And that help can come in the form of digital edition, which is popularly known as “photoshop”.
The digital edition encompasses many actions. From basic composition and parameter adjustments to advanced retouching to remove wrinkles or add objects. We will focus on those tools that do not alter reality and that serve exclusively to correct mistakes or improve appearance.
Tips for retouching photos:
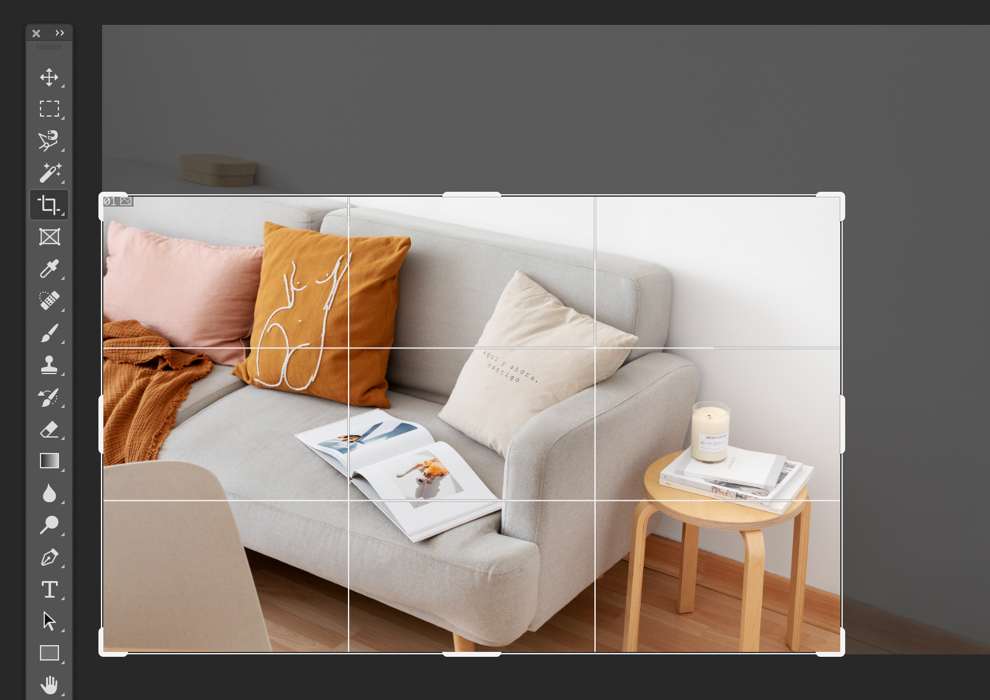
Crop your photos
The first, and most obvious, is also the simplest: reframe the image. Although the ideal is that we always obtain the optimal framing in the shot, we do not always achieve it. Fortunately, all retouching programs have a crop or reframe tool.
If our photo has room to spare on one side or is crooked, it can always be fixed by adjusting the cropping and tilt of the edges. It is always advisable to start by eliminating the inclination and then trim what is left over until we have an image adjusted to our liking.
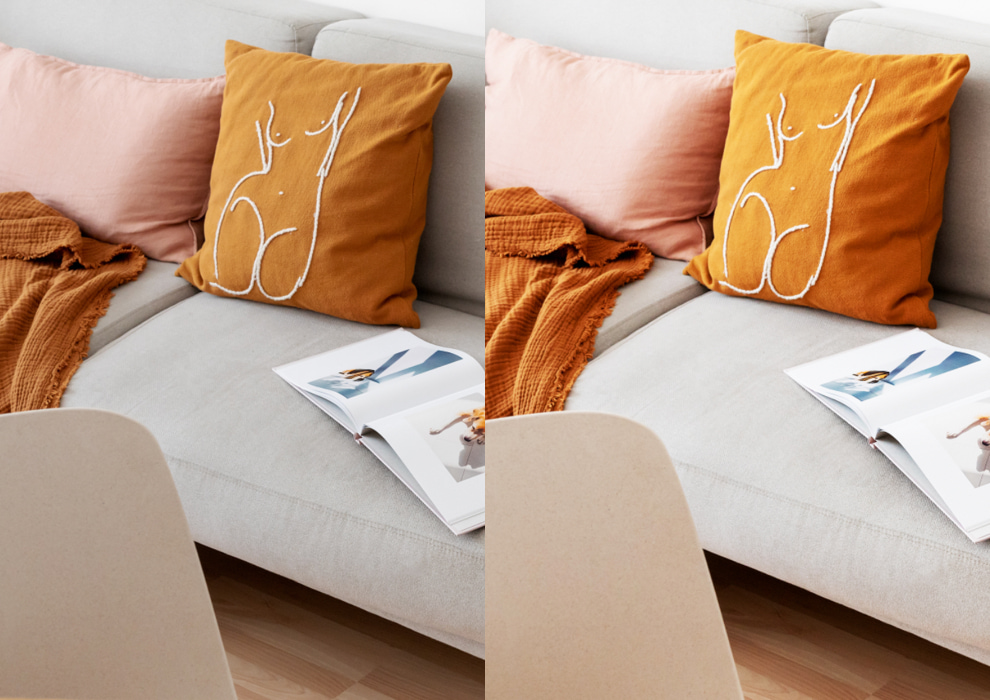
White balance
Although the cameras have an auto-target system, the truth is that it often does not work as it should. But there is no need to worry because in the edition we find several ways to solve it. The simplest is the target auto-adjustment. Applying it eliminates the dominant colors and more natural whites are obtained. There is another option which is to manually adjust the white by selecting a specific point in the image that is originally white. It is a more precise adjustment but for this it is necessary that there is an element in the image that is really white.

A little known detail and more useful than it seems, is the dynamic range adjustment. We are really talking about a rescaling of the histogram so that the lightest and darkest areas of the scene are represented with the highest fidelity on the selected medium. That is, the whitest white on the screen represents the whitest white in the image and the same with blacks. This may seem redundant, but the truth is that many photos – especially those taken in bright light or in the dark – tend to shift the histogram values, leaving the extremes unused. It sounds weird and very technical but if you learn to adjust it, your photos will improve incredibly and they will be perfect in your Hofmann Photo Book where you can add all the photos you want and fill it with up to 156 pages, choose between different formats, sizes and designs so that the photobook fits your needs.
Create my Photo Book
Gamma curve
Yes, yes, I know that the name of this tool is a bit scary, but without a doubt it is one of the more interesting functions that can be found and that with very little knowledge -and less effort- allows to obtain very attractive results. Gamma is a value that represents the visual behavior of the image. If it is linear, each tone and color is represented as it is, but if that curve is altered, the shadow area, the middle area or the highlights can be selectively enhanced. Try it and you won’t be able to quit… it’s addictive.

Saturation, brightness and contrast
These three elements are like a three of a kind at poker, that is, a winning hand almost always. By adjusting each of these values a little, we can enhance the image and make it noticeably more attractive. Normally a good camera requires very few adjustments, but there is always room for improvement and perhaps even giving photos a personal touch. Note that these characteristics can not only be increased, it can also be reduced to obtain smoother results.
Once we automatically master these tricks, tidying up our photos will take just a few minutes. Afterwards we can always create interesting artistic combinations for example with the personalized photo canvases by Hofmann. With collage canvases we can combine several images of different sizes in the same painting and highlight each one by applying the techniques we have learned in a different way … one in black and white, another more contrasted and so on until the painting is filled.
Create a Custom Canvas
By: Juan Castromil @castromil and Carolina Denia @CarolinaD
The post Tips to retouch and enhance your photos appeared first on Hofmann Blog.


